
 rotate(10)'/%3E%3Cpath d='M.038.113v.15l.15.088.15-.088v-.15L.188.025l-.15.088Z' stroke='%23c44900' stroke-width='.0375' transform='rotate(10)'/%3E%3C/svg%3E)
Creating a New Roadmap
For Editors and Managers: start a roadmap from nothing, in two steps.
Before you start
New Roadmaps are started from the left navigation only. Have the program's identifying details to hand: program name and code, degree type and code, campus, catalog year, college, department, total program hours and advanced minimum hours.
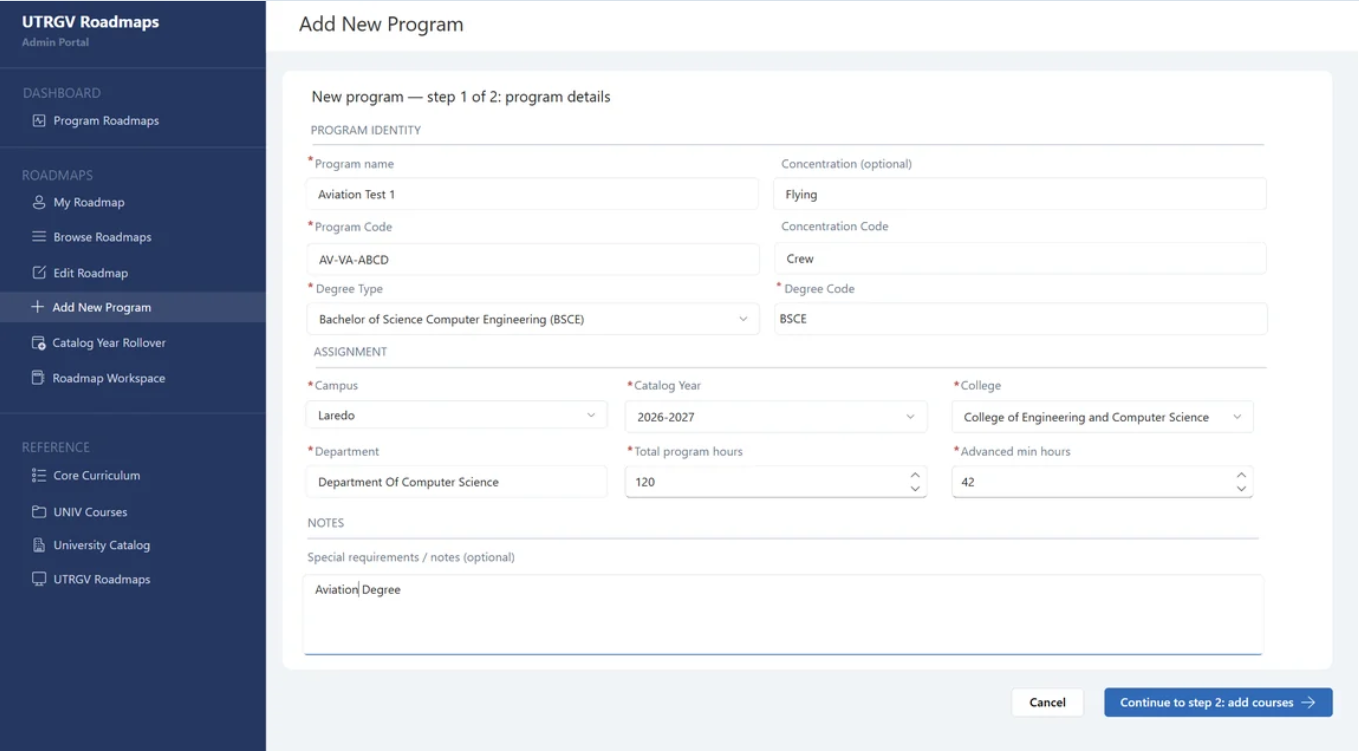
Step 1 — Program details
- Click Add New Roadmap in the left navigation.
- Fill in every field marked with a red asterisk. Program name, program code, degree type and degree code sit under PROGRAM IDENTITY; campus, catalog year, college, department, total program hours and advanced minimum hours sit under ASSIGNMENT.
- Concentration, concentration code and special requirements notes are optional.
- Click Continue to step 2: add courses.
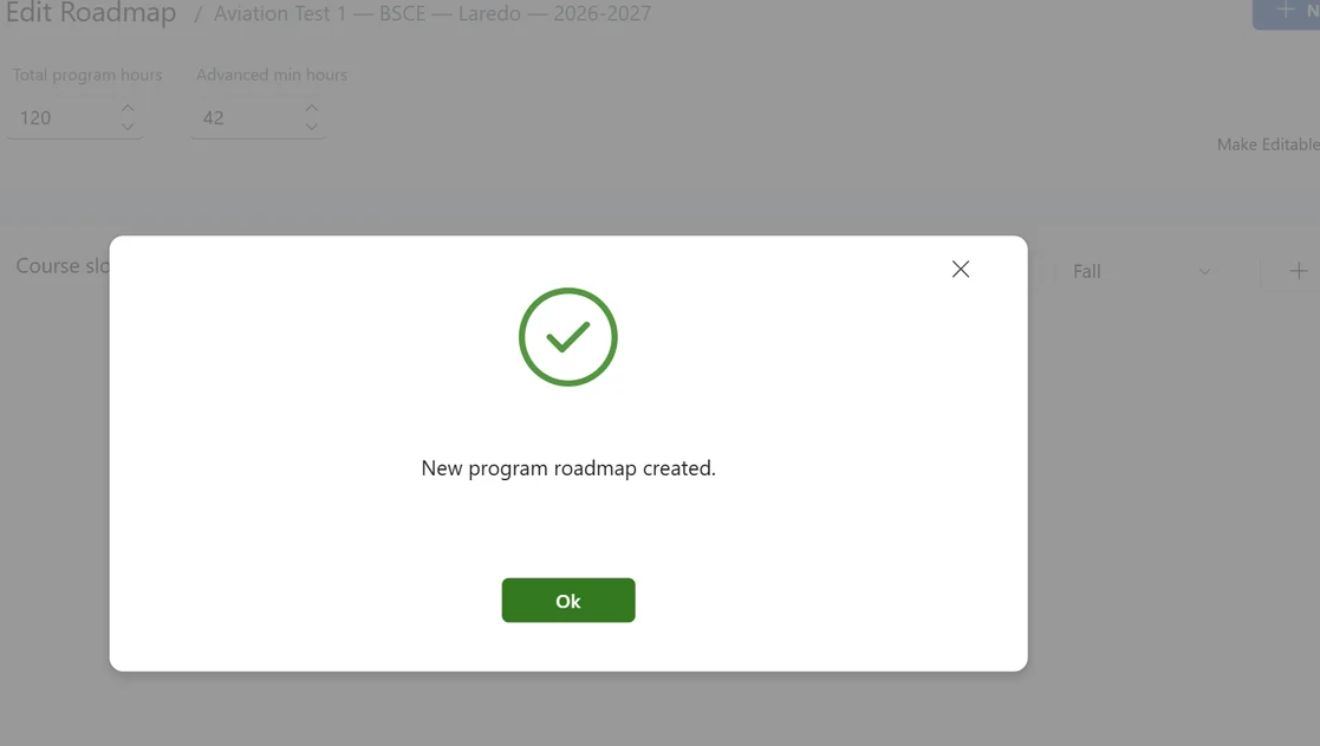
A message confirms that a new roadmap has been created. This means the record now exists and is ready to be worked on. Click OK.
Step 2 — Add courses
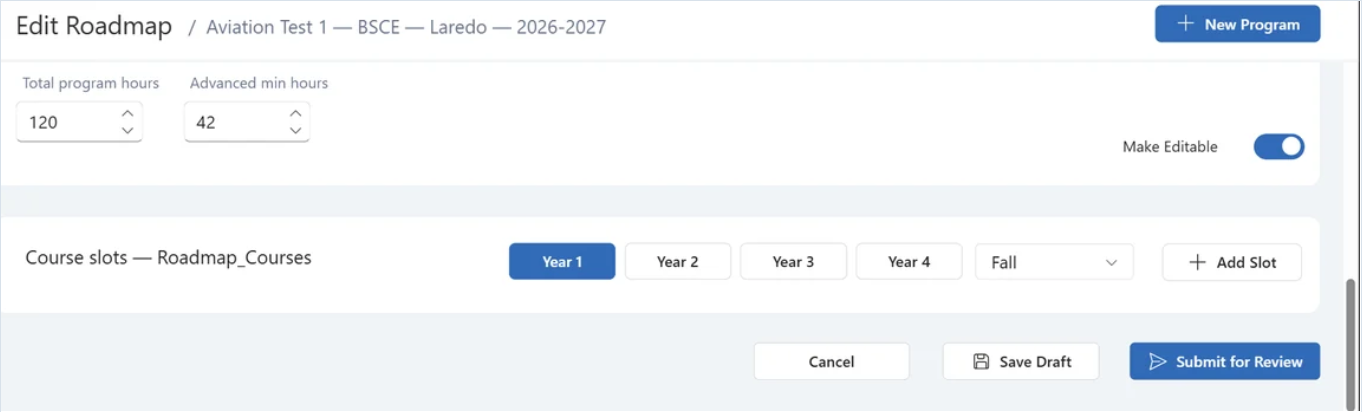
- Click Add Slot. A new empty slot appears at the bottom of the list.
- Scroll right and click the pencil icon to open the requirement wizard. See Adding a Course Requirement.
- Work through every year and every semester of the degree.
- Click Submit for Review when the roadmap is complete, or Save Draft if you need to stop partway.
Submitting for review
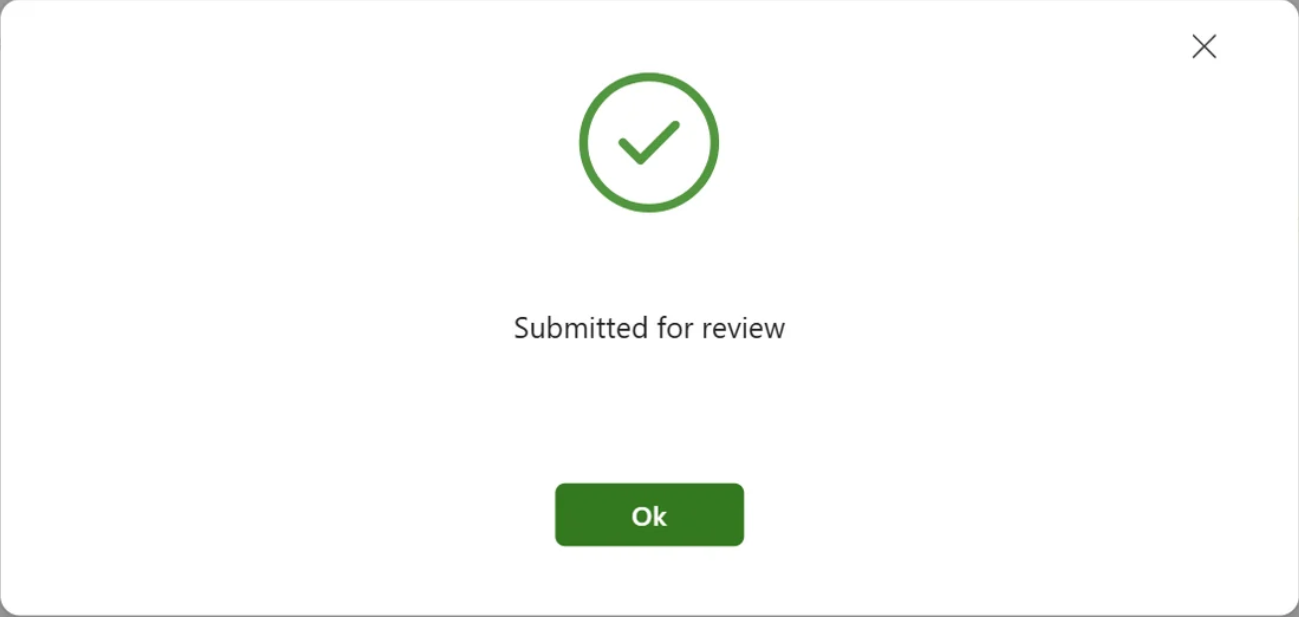
Clicking Submit for Review sends the roadmap into the approval workflow. A confirmation message appears, and a confirmation email goes to you as submitter and to the portal Manager.
From this point the roadmap is out of your hands until a reviewer acts on it. Track its progress under Roadmap Workspace › My Submissions.